
Labeling Cold and Wet Bottles: Label, Adhesive and Machine Checks
A technical checklist for labeling cold, condensing bottles: container surface, label stock, adhesive and labeler settings, plus a trial on production bottles.
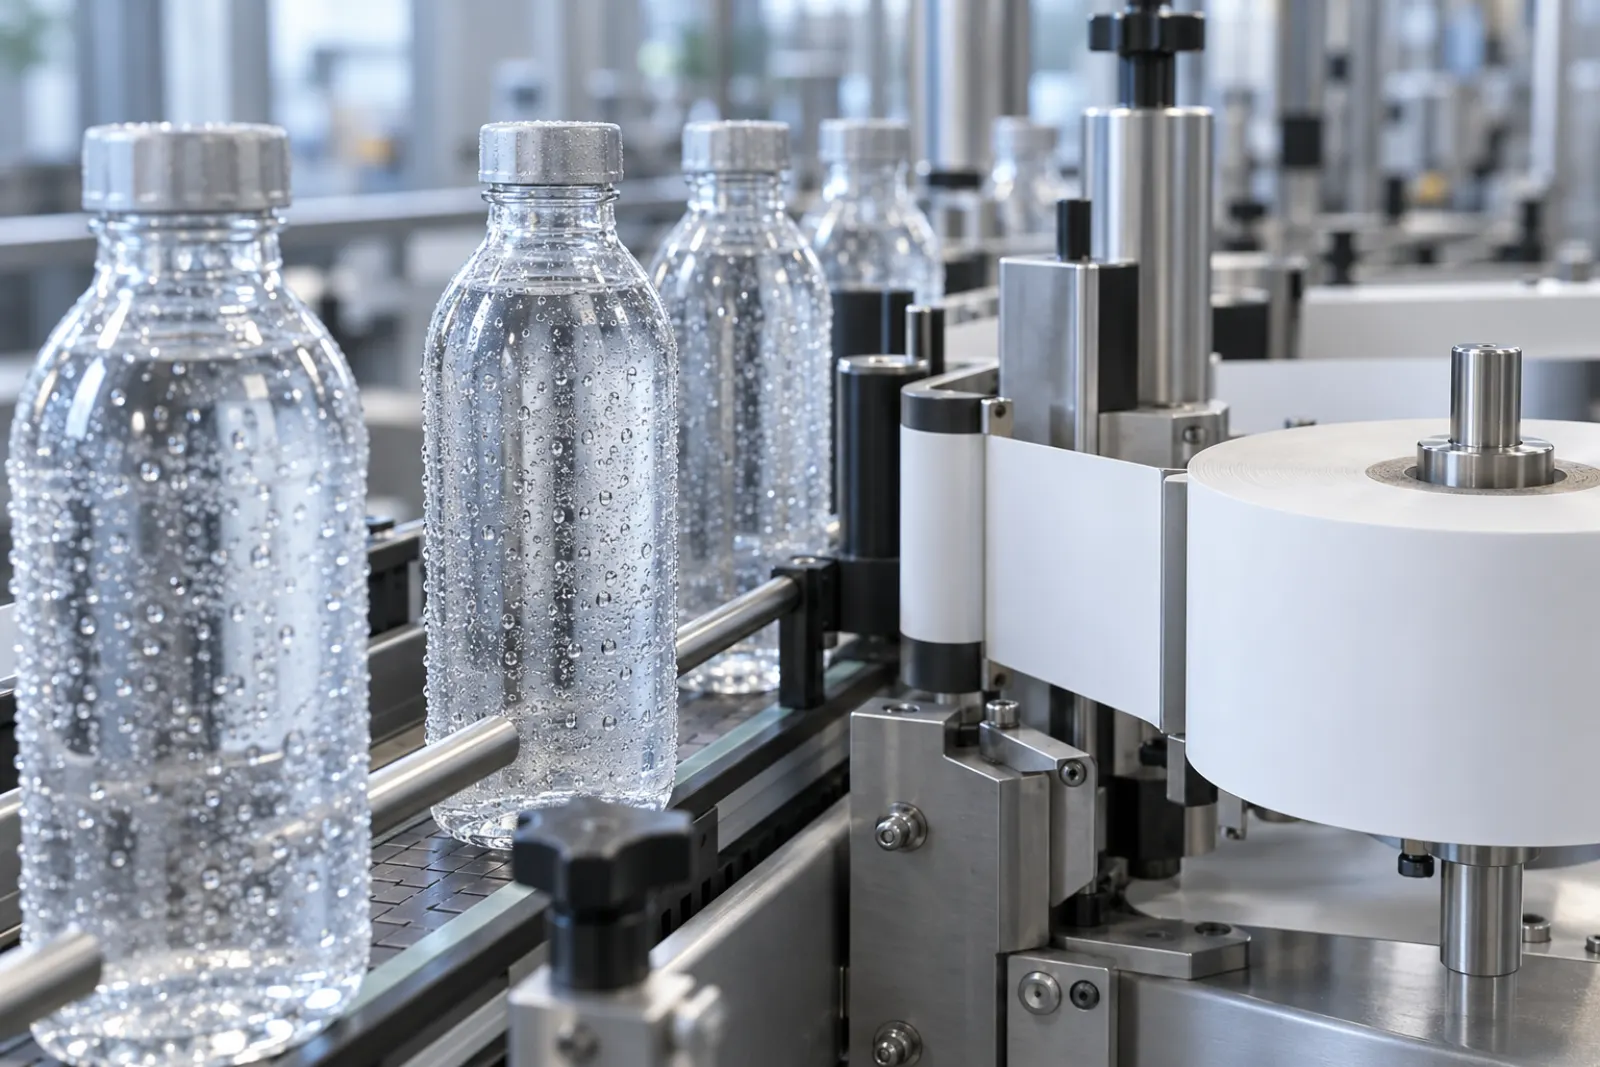
What this article covers
This checklist helps packaging engineers and buyers diagnose and prevent label failures on cold or condensing bottles by checking the container, label stock, adhesive and labeler together, then confirming with a trial.
Covered
- Why condensation forms and what it does to pressure-sensitive adhesives
- Container surface, label stock and adhesive checks
- Labeler checks: drying, application pressure, wipe-down
- Trial design on production-condition bottles
Not covered
- Shrink sleeve, glue-applied and in-mold labeling
- Label artwork, regulatory content and printing
Label slip, lifted edges and wrinkles can waste a run of chilled bottles. Check the container, label stock, adhesive and labeler together, using bottles in their actual cold and wet production condition.
Use this pressure-sensitive labeling screen to decide what to measure first; a symptom alone does not identify the cause.
Scroll horizontally for any hidden columns →
| Symptom or condition | First variables to check | Record |
|---|---|---|
| Label slips | Visible water film; application pressure | Moisture pattern, pressure setting, slip position |
| Edge lifts | Bottle curvature/coating; label stiffness; wipe-down | Bottle/label lot, lifted edge, wipe-down setting |
| Label wrinkles | Facestock wetting; contact and handling | Stock/laminate, wrinkle location, line speed |
| Cold bottle surface | Bottle temperature against adhesive application limits | Surface °C or °F, room temperature, relative humidity |
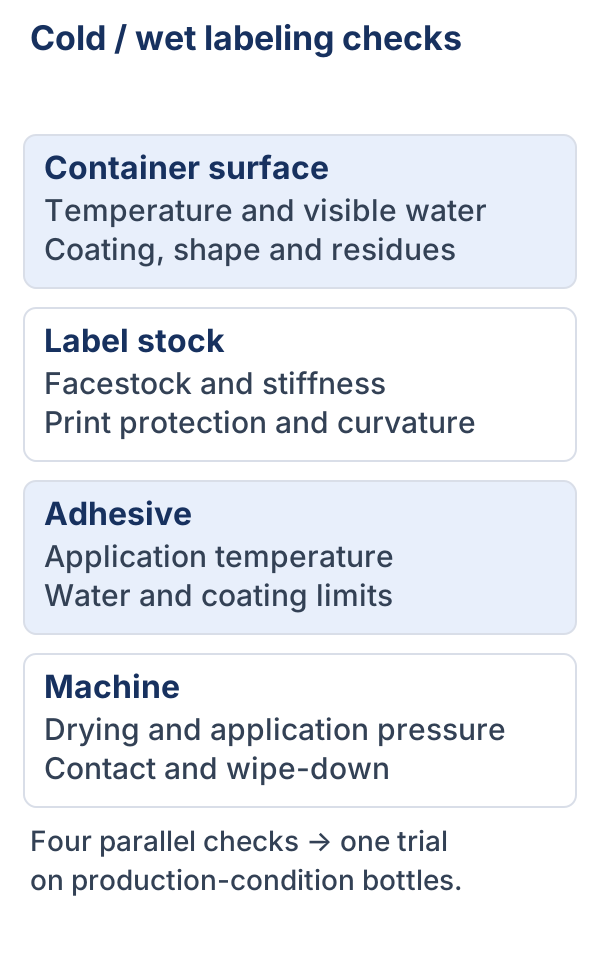
Why condensation forms and why it matters
Condensation forms when the bottle surface is colder than the dew point of the surrounding air. Moist air reaching the cold surface deposits water as droplets or a film. This happens when bottles are filled cold, leave a chiller or cooling tunnel, or are transferred from cold storage into a warmer, more humid room. The amount of water depends on how cold the bottle is, the air temperature and humidity, and how long the bottle is exposed before labeling.
Supplier documentation from Avery Dennison identifies two linked issues: cold temperatures and water on the substrate. According to that document, cold causes pressure-sensitive adhesives to become firm and lose initial tack, so adhesives that perform well at higher temperatures may lose too much tack on a cold surface. Separately, the document states that a pressure-sensitive label material will not stick to water because the tack is deadened. The same document notes that an adhesive made for this duty can adhere only up to certain levels of surface water and that if the surface becomes too wet the label will slide and fail to adhere. It adds that it is difficult to say how much is too much because each situation is different. Read those statements as a description of the mechanism, not as a threshold for your line.
The conditions at the labeler define the problem, not those at the bottle supplier or in the lab. Measure bottle temperature, room temperature and humidity at the labeling station, across the shift.
Check group 1: Container surface
- Material and shape. Glass, PET and HDPE behave differently. In the Avery Dennison document, glass and PET containers work well with that adhesive, and the better the shape of the container, the better the chance of labeling success.
- Coatings and slip agents. Some bottles carry hot-end or cold-end coatings, or surface treatments. The same document says polyethylene coating gave better adhesion than oleic acid coating in its context, and that PET with certain lubricating treatments can create adhesion issues. Ask the bottle supplier what coatings are present and request a statement.
- Surface temperature at labeling. Record the bottle surface temperature as well as the product temperature.
- Surface moisture. Note whether you see isolated droplets or a continuous film, and where on the bottle (shoulder, body, base).
- Panel and curvature. Check for label panels, embossing, ribs and base geometry that trap water or change contact.
- Residues. Look for product on the exterior, which acts as a second contaminant after fill.
Check group 2: Label stock
Paper and film respond to water differently, and sources disagree about when each is acceptable. Blue Label Packaging, a label supplier, advises plastic film (BOPP, polyester, polyolefin or vinyl) instead of plain paper for wet use because paper absorbs water and fails, and recommends a laminate over a varnish for demanding wet conditions. Avery Dennison’s bulletin, by contrast, describes wine and prime paper stocks working with its specialty cold/wet adhesive, while noting that more flexible materials tend to perform at a higher level, that an overlaminate can stiffen a label so that it will not hold a bottle mandrel, and that stock weight affects how much the labeling line must be modified. The two statements do not conflict. They describe different products, adhesives and uses.
Scroll horizontally for any hidden columns →
| Dimension | Paper stock | Film stock (e.g., BOPP, polyolefin) |
|---|---|---|
| Behavior in water | Absorbs water unless coated or treated; may wrinkle or lose strength | Water-resistant; may hold shape in an ice bucket |
| Conformability to curves | Depends on caliper and stiffness | Varies by film; softer films conform more easily |
| Print protection | Varnish or laminate needed for abrasion and wetting | Print can be reverse or top-protected |
| Typical concerns | Edge wicking, wrinkling, ink bleed | Air entrapment, memory on squeeze bottles, stiffness |
| Adhesive pairing | Needs an adhesive suited to cold and moisture | Same; stock choice does not remove the need |
The table summarizes general behavior and the supplier statements above. Your label supplier should state which facestocks have been used with the proposed adhesive on your container material and coating.
Checklist:
- Facestock type, caliper and stiffness stated in writing.
- Varnish or laminate type, and whether it affects flexibility.
- Label size and shape relative to bottle curvature and mandrel/nip geometry.
- Print resistance to water and abrasion during chilling, ice-bucket use or case packing.
Check group 3: Adhesive
The adhesive is where the cold/wet failure is decided. According to Blue Label Packaging, a mismatched adhesive is the single most common reason a “waterproof” label fails, removable adhesives lose grip in moisture, and bottles filled or labeled cold should use an adhesive rated for cold or wet application, not a standard one. The Avery Dennison document describes a specific adhesive designed for surfaces with limited moisture at temperatures below 38 to 40 °F, and cautions that it is not for soaking-wet surfaces.
Ask for the adhesive’s stated conditions instead of a general “cold/wet” label:
- Minimum application temperature of the bottle surface, as stated by the supplier.
- Moisture level the adhesive is designed for (droplets, film or none).
- Service conditions after application: refrigerator, ice bucket, freezer, condensation cycles.
- Whether the same adhesive is suited to dry bottles, in case your line sometimes runs dry containers. Adhesives designed for wet or cold surfaces may behave differently on dry ones, so confirm both.
- Compatibility with your container material and any surface coating.
- Rework: how labels are removed if a batch must be relabeled.
Check group 4: Machine
The right label and adhesive still fail on a labeler set up for dry bottles. The Avery Dennison document lists these line recommendations for cold/wet labeling, which are the supplier’s own:
- Air knife. Recommended for any wet labeling situation and placed as close to the peel blade as possible so that the surface is as dry as possible at first contact.
- Pre-squeegee. A device to remove water before the label reaches the bottle.
- Leading-edge application. The leading edge of the label should be in good contact with the container. Center contact application may not work because the label has no pressure to hold it in place; the document says to avoid center contact.
- Pressure device. A brush, squeegee or foam roller on rotary labelers, or a nip between container and vacuum belt on wrap-belt equipment, pushes the label on and helps squeeze residual condensation from under it.
- Pressure balance. Too much pressure can make the label slide out of position; too little can leave the label un-tacked or the edge lifted.
- Wipe-down. A complete primary wipe-down, and a secondary one where possible, because condensation may reform before the container reaches a second labeling head.
Turn these into specification lines:
- Air knife or drying device proposed, and its position relative to the peel blade.
- Wipe-down method (brushes, squeegees, belt) and whether it is adjustable per format.
- How application pressure is set, measured and repeated after changeover.
- Whether bottle handling (spacing, speed, starwheel timing) is stable for wet containers.
- Label sensors and registration with wet or translucent bottles.
- How the labeler position fits the line, including the distance from the filler, capper and cooler or tunnel. See the bottled water packaging line guide for a typical layout.
A related interface: the cap and neck area. A cap that sheds liquid or a bottle that is wet from an upstream rinser can create moisture at the labeler. Review bottle capping machine selection alongside this checklist.
Trial on production-condition bottles
A sample trial on room-temperature dry bottles proves little about a line labeling at the end of a chiller.
Use the same product, bottle coating, label and adhesive as production. Agree pass/fail rules and the sign-off owner before the run; repeat at the plant if the supplier cannot reproduce the conditions. Copy this record for each trial, including a colder or wetter condition if relevant.
Scroll horizontally for any hidden columns →
| Trial field | Value / evidence to enter |
|---|---|
| Product and packaging | ____; bottle, label and adhesive lot/grade ____ |
| Ambient conditions at labeler | Temperature ____ °C/°F; relative humidity ____%; time ____ |
| Bottle surface temperature | ____ °C/°F; measurement location and time ____ |
| Visible water | None / droplets / continuous film; shoulder/body/base; photo ____ |
| Running speed | ____ bottles/min; good output and rejects ____ |
| Machine setup | Pressure ____; air knife position ____; wipe-down ____ |
| Immediate inspection | Slip / skew / flagging / wrinkles; results ____ |
| Recheck | Elapsed time ____; packed/chilled/ice-bucket/handled condition ____; results ____ |
| Acceptance | Agreed rule ____; result ____; sign-off owner ____ |
Use the packaging machine FAT checklist to agree samples, acceptance rules and records before the trial. This follows the OpX approach of settling acceptance-test expectations in advance.
What needs project-specific validation
- Bottle surface temperature and moisture at the labeler across a full shift and across seasons.
- Adhesive performance on your container coating, with samples from current production.
- Label stock performance after chilling, ice-bucket exposure and case packing.
- Labeler settings that can be reproduced after a changeover.
- Whether a drier, a longer conveyor path or a change to the cooling step reduces moisture more cheaply than a different adhesive.
Questions to ask suppliers
- For the label supplier: what is the adhesive’s minimum application temperature and moisture tolerance, in writing, and on what container materials and coatings has it been used?
- For the label supplier: which facestock and print protection do you recommend for chilled, condensing bottles, and what were the conditions of the evidence?
- For the labeler supplier: what drying, squeegee and wipe-down options are proposed, and where are they placed relative to the label application point?
- How is application pressure set and verified, and how repeatable is it after a format change?
- What trial can be done with our bottles at our production conditions, and what information will the report contain?
- What are the limits you state for surface moisture, and how will we know when we exceed them?
- What spare parts are subject to wear (brushes, rollers, belts), and what are their replacement intervals?
- What changeover steps are required between bottle formats, and which settings are stored in the controls?
Add these to the packaging machine RFQ checklist so every quote answers the same wet-bottle conditions.
Summary
Cold-wet labeling is a system problem. Define the bottle condition at the labeler, then check the container surface, label stock, adhesive and machine settings in that order. Rely on supplier statements only as far as they match your conditions, and confirm with a trial on production-condition bottles before signing off.
Sources and method
This article is based on documentary research of the sources listed. It is not a hands-on equipment test. Supplier statements and editorial judgement are identified in the text.
- Z3338 Adhesive Technical Overview: Application Recommendations Supports: the cold-and-wet labeling challenge, the supplier's setup recommendations (air knife, pre-squeegee, leading-edge application, pressure, wipe-down) and container coating considerations.
- Making Waterproof Labels for Bottles: Considerations Supports: the supplier's guidance on film facestocks, adhesive selection for cold or wet application, and protecting print.
- One Voice for Acceptance Tests (Factory Acceptance Tests; Protocols for Capital Equipment in the CPG Industry) Supports: agreeing acceptance-test protocols between buyer and equipment maker.
Next reading
Factory Acceptance Testing for Packaging Equipment: Planning the Checks
Finding defects after shipment can delay installation. Prepare a FAT protocol, representative materials, raw test records and an agreed punch list.
Read the guide
Bottle Capping Machine Selection: Caps, Torque and Changeover
How to match a capping machine to the closure and bottle finish: cap types, application vs removal torque, heads, change parts and pre-purchase validation.
Read the guide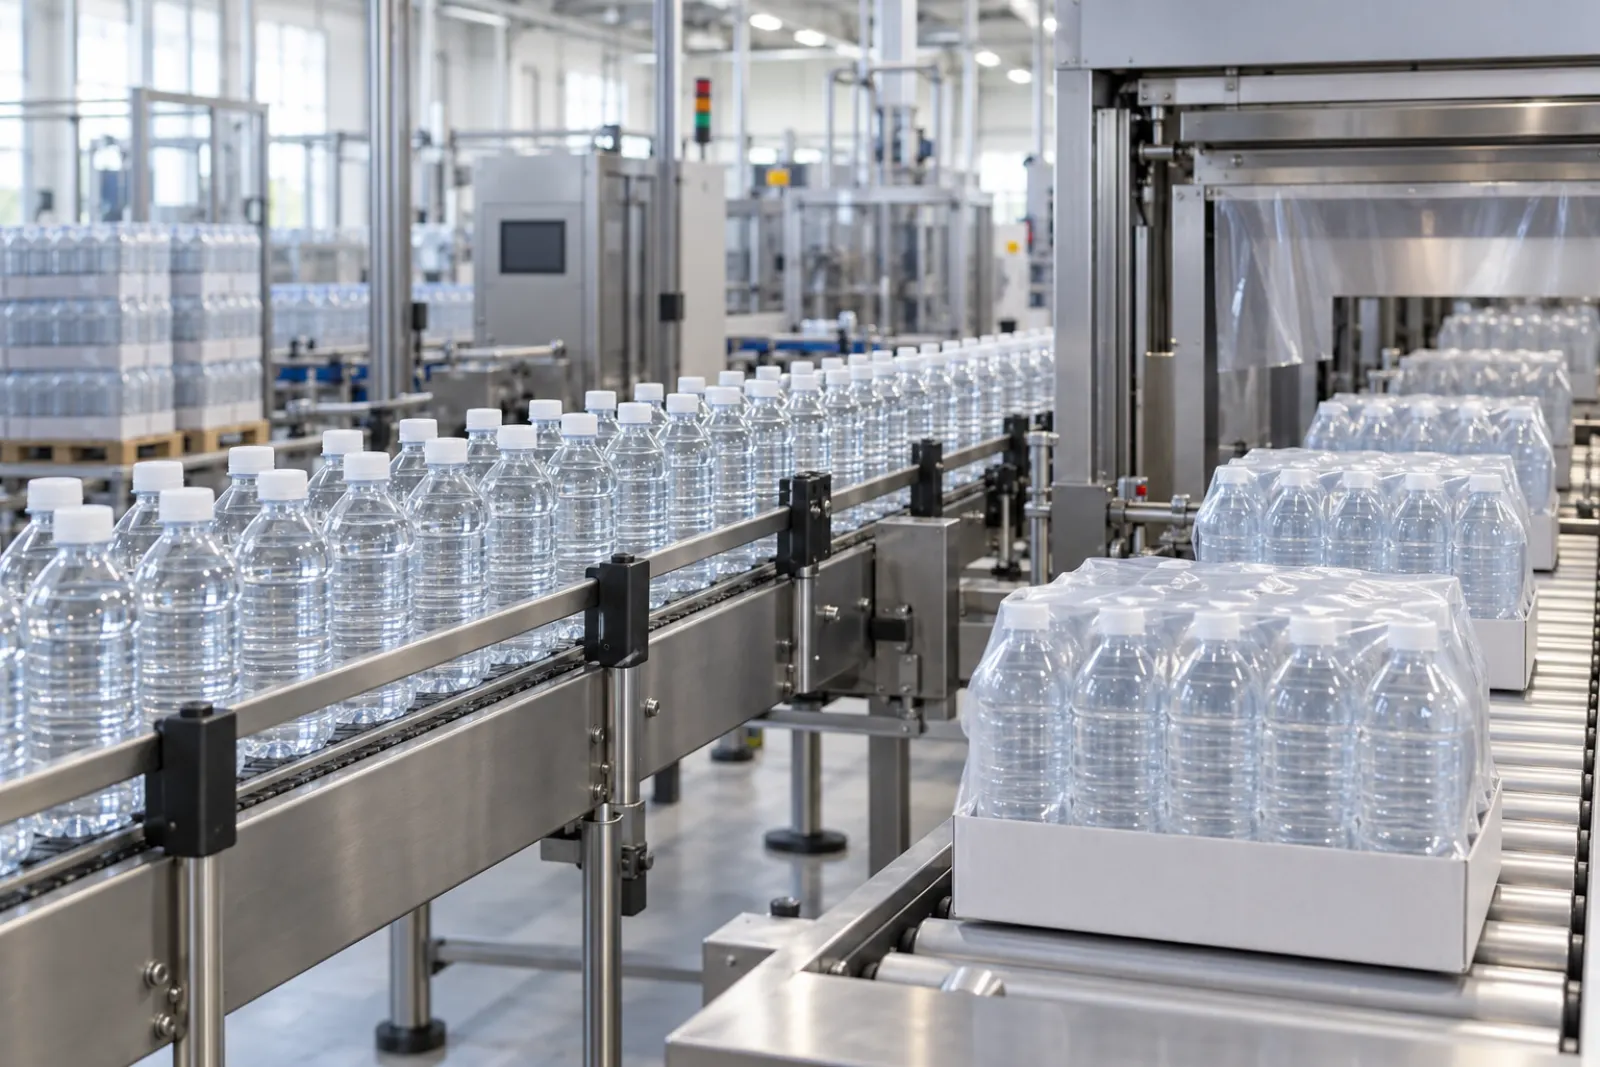
Bottled Water Packaging Lines: From Prepared Containers to Packed Cases
Plan a bottled water packaging line from container supply to palletizing: rinsing, filling, capping, labeling, coding and the interfaces between stations.
Read the guide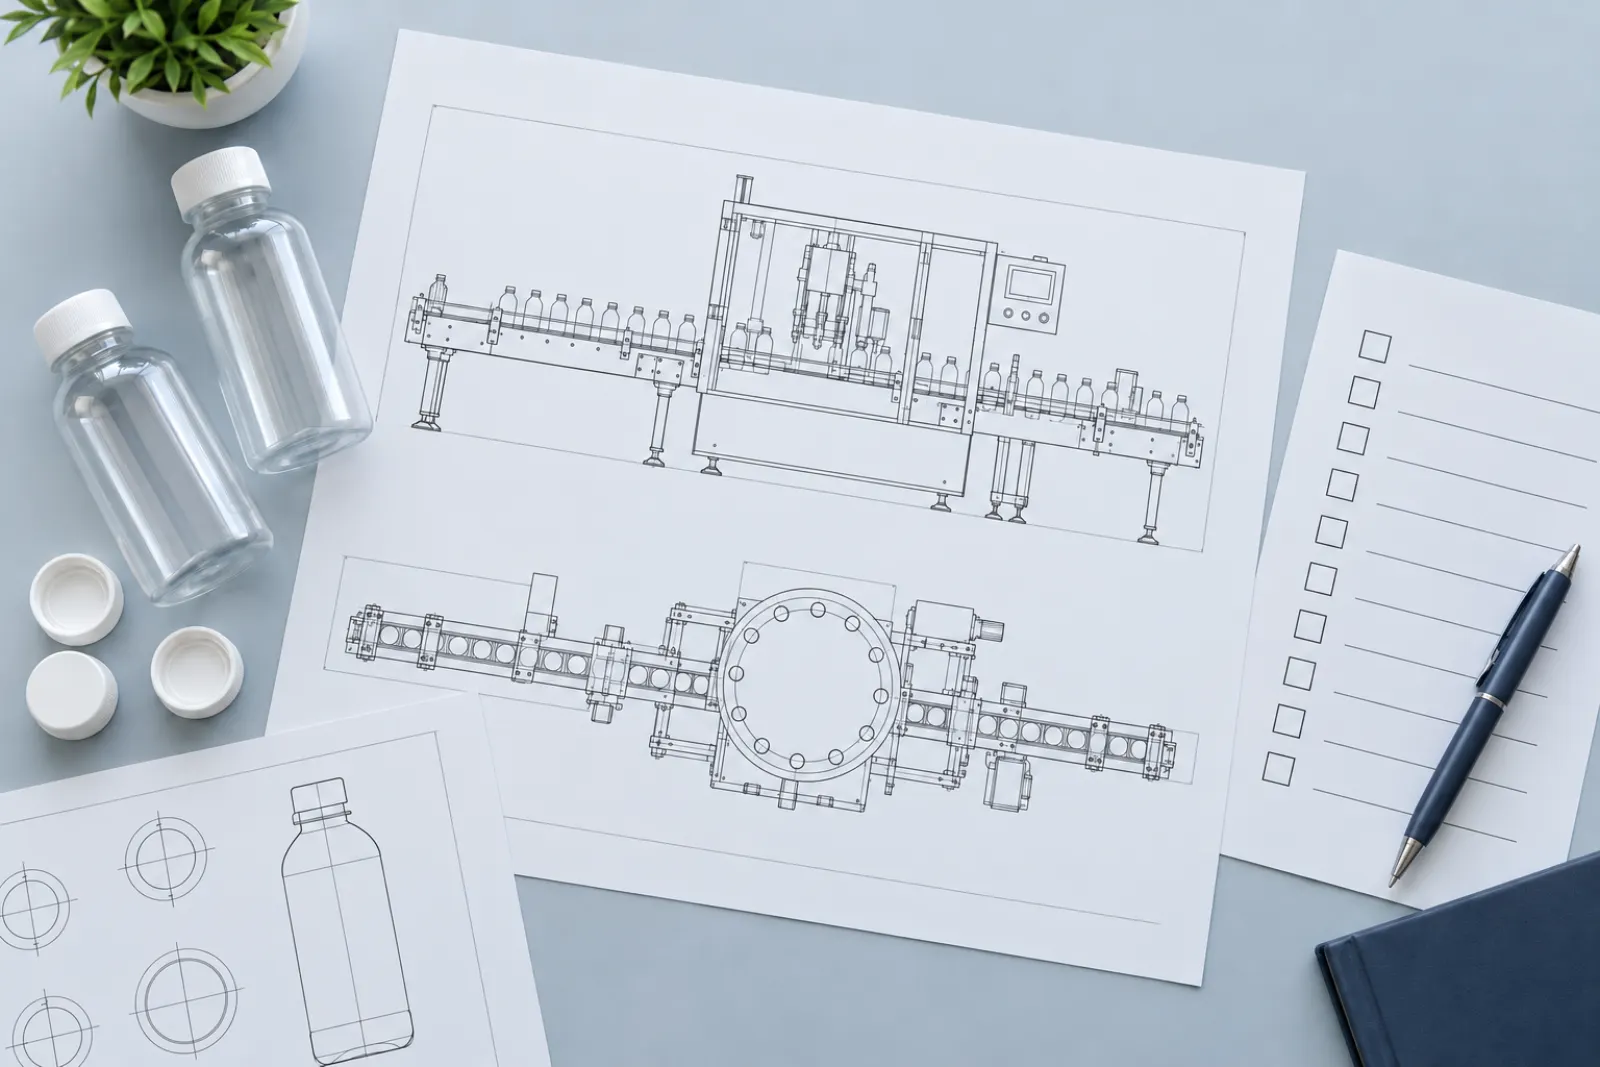
Packaging Machine RFQ Checklist for Food and Beverage Buyers
A copy-ready request-for-quotation structure for packaging machines, with eight modules of fields to fill in and a method for comparing quotes line by line.
Read the guideMore in Equipment
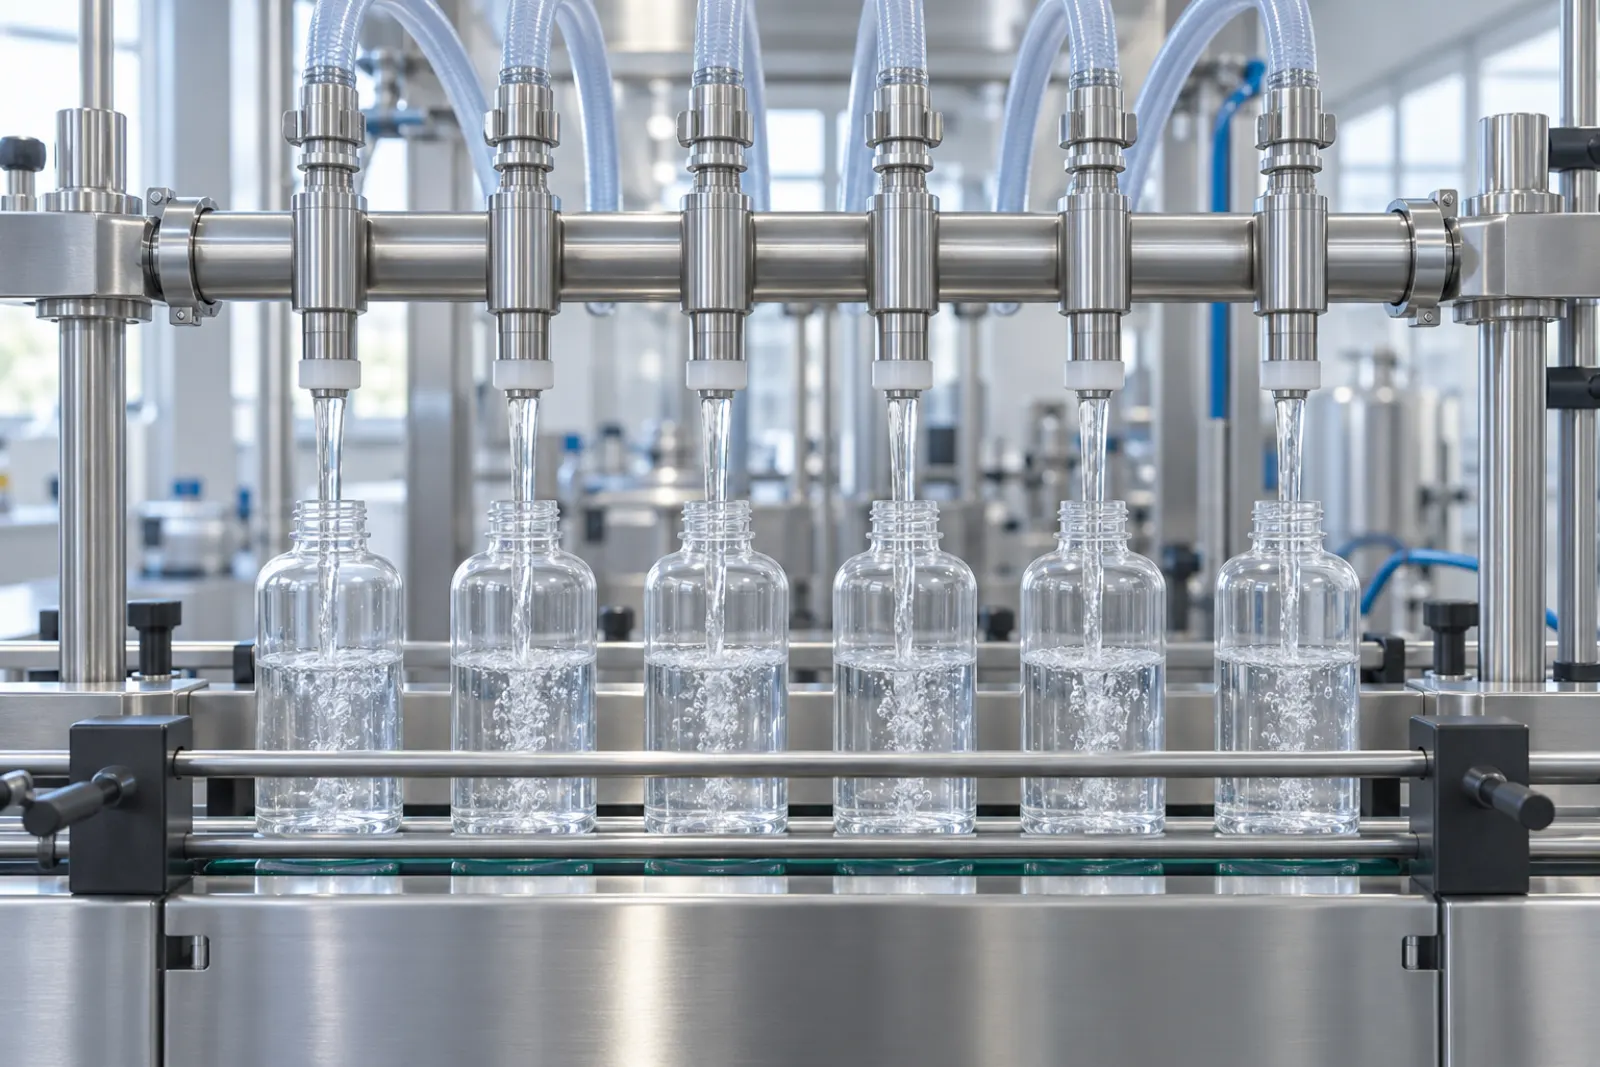
How to Choose a Liquid Filling Machine for Food and Beverages
A buyer's framework for choosing a liquid filling machine: project inputs, filling approaches compared, what to validate with samples, and supplier questions.
Read the guide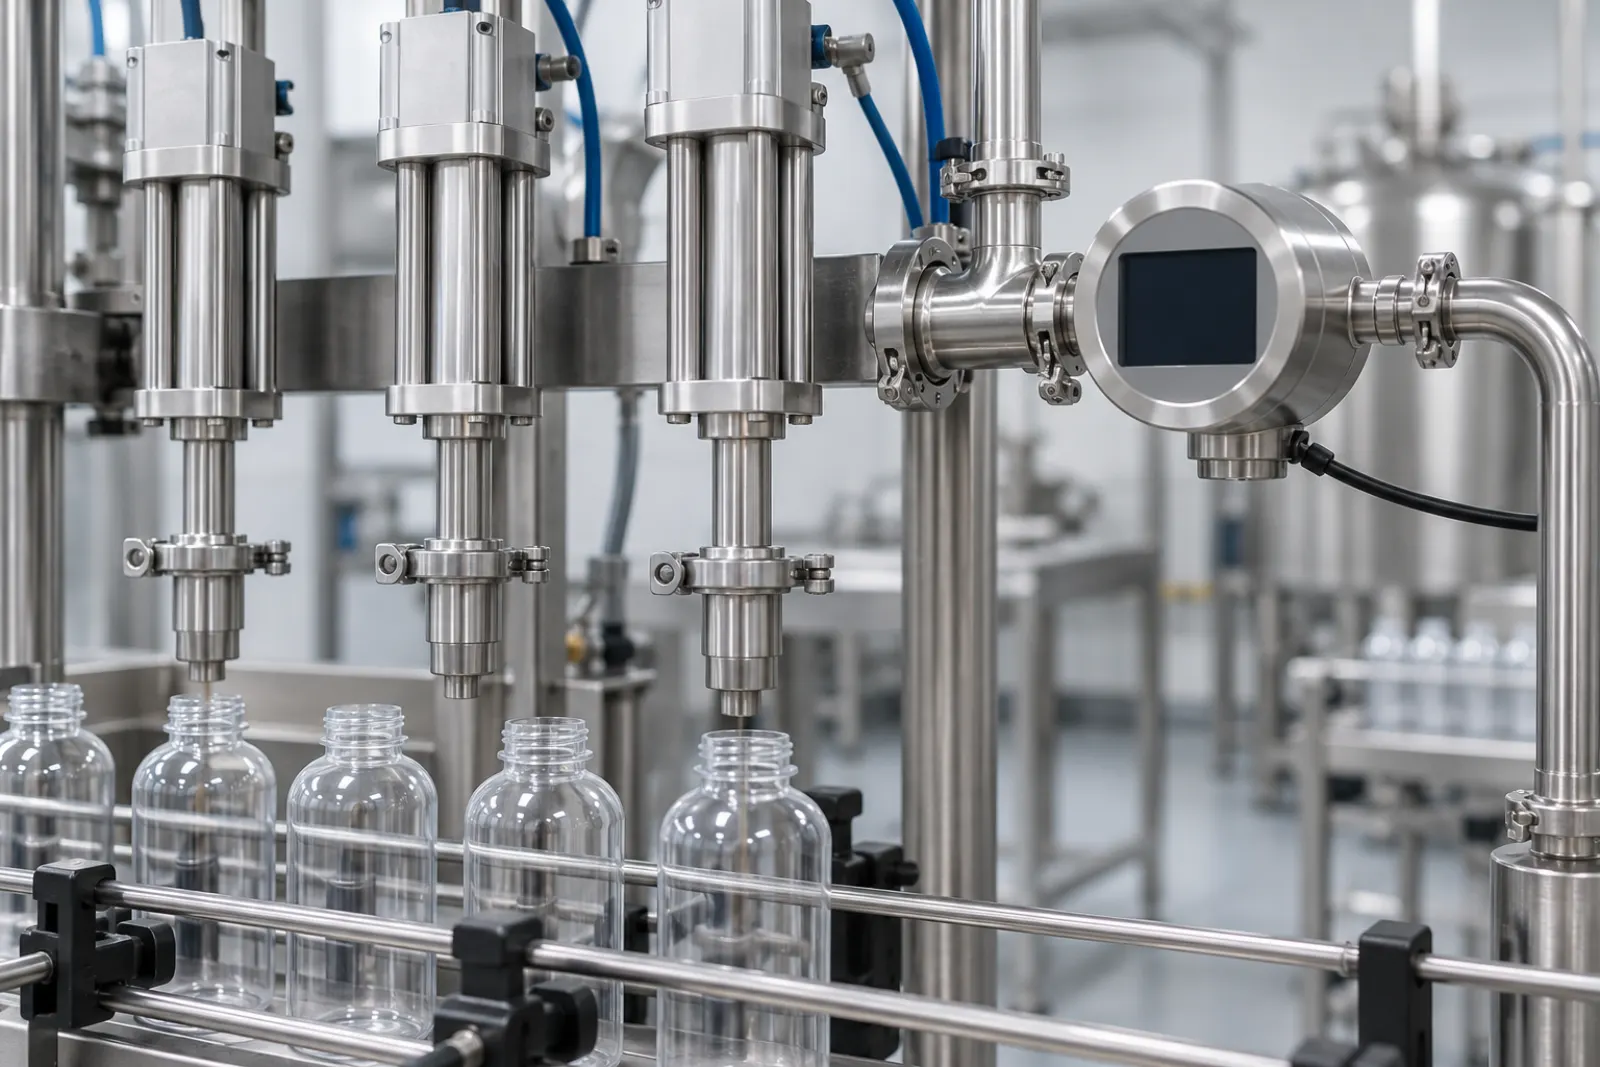
Liquid Filling Methods Compared: Gravity, Piston and Flowmeter-Based Systems
Compare liquid filling methods by metering principle, product feed and machine structure: gravity, overflow, piston and flowmeter systems and their limits.
Read the guide
Cup Filling and Sealing Machines for Yogurt: A Buyer’s Checklist
A buyer's checklist for yogurt cup filling and sealing machines: stations, cup and lid compatibility, seal checks, cleaning, and questions to put to suppliers.
Read the guide